This article discusses how to implement Google Seller Ratings. To learn more about the Google Seller Ratings feature, click here.
This article contains the following sections:
- Seller Ratings Account Setup
- Seller Ratings Email Collection Setup
- Using PowerReviews as Your ESP
- Using Your Own ESP
- Seller Ratings Email Recommendations
- Seller Ratings Process
- Verifying Seller Ratings
- Displaying Seller Ratings on Facebook
Seller Ratings Account Setup
PowerReviews will first need to establish your Seller Ratings-specific account. We need the following information to do so, and we may ask you to provide any data points we cannot easily obtain ourselves:
- Your full company name
- A detailed description of your website
- Your website URL
- Your company logo (.png or .jpg format; must be 300x300 pixels)
Seller Ratings Email Collection Setup
Google Seller Ratings are collected from your customers post-fulfillment via a direct email solicitation. It's recommended that this email be separate from the solicitation email asking customers to leave a product(s) review, so as to have a clearly defined call to action for each email (ie., submit a product review vs. submit an overall shopping experience review).
You have two options for sending the Seller Ratings Email via an Email Service Provider (ESP):
1. Using PowerReviews as Your ESP
2. Using Your Own ESP
Using PowerReviews as Your ESP
When using PowerReviews as your ESP for Seller Ratings Emails, the same configuration and customization options are available as for our product review emails. Please refer to our Follow-Up Email documentation outlining how to set up and customize your email; the only difference is that you will be configuring this email in your Seller Ratings account in the PowerReviews Portal (instead of in your main Ratings & Reviews account).
Using Your Own ESP
Using your own ESP for Seller Ratings Emails will follow a very similar process to how you set up your product review emails.
You will need to include a Write-a-Review link in your Seller Ratings Email for customers to leave their review. The Write-a-Review link in your email must include these four variables:
1. pr_source=email
2. pr_merchant_user_email=<user email> (if you are encrypting email addresses, you must use pr_emuid instead)
3. pr_merchant_id=<this is a fixed value that will be provided to you by PowerReviews>
4. pr_page_id=<this is a fixed value that will be provided to you by PowerReviews>
For example, a Write-a-Review link may look like this for a given email (note that all four variables are included in the string):
Your Implementation Team or Account Team will provide you your specific Write-a-Review link for your Seller Ratings account. This will include your pr_page_id and pr_merchant_id, which are fixed values that will always be the same for every Seller Ratings Email. Reviews collected in this manner with included variables receive the 'Verified Buyer' Badge in your Review Display.
Seller Ratings Email Recommendations
- Email Wait Days - Google Seller Ratings are meant to measure the entire purchasing experience your customers have with you, including the fulfillment experience. Therefore, we recommend the Seller Ratings Email be sent around the same time as the fulfillment occurs.
- Separate Email Timing - If you send your Seller Ratings Email separately from your product review email (recommended), we also recommend you send the Seller Ratings Email prior to the product review email.
Note: If you are concerned about the number of emails your customers will receive and wish to combine the two calls to action within one email, we recommend adding the Seller Ratings CTA at the bottom of the product review email via a link. Ask your Implementation Team or Account Team for guidance if needed.
Seller Ratings Process
As you start collecting Seller Ratings from your customers, PowerReviews sends an XML file with this data to Google. After Google picks up this file, you can expect to see your star ratings on paid ads roughly 4-6 weeks after submission.
However, this won't happen every time your paid ad appears. This is because Google algorithmically determines when it's best to show a star rating. If you access your Seller Ratings review page, and you see Ratings and Reviews, everything is working as it should.
Verifying Seller Ratings
First, ensure you have read the Seller Ratings Process above. If so, there are a few ways to verify your Google Seller Ratings are working:
- Go to Google Shopping and type your store domain into the search bar. When looking at the results, check to see if Google Seller Ratings are showing. Make sure you are in list view, as the grid view may not have enough room for the Seller Ratings to show.
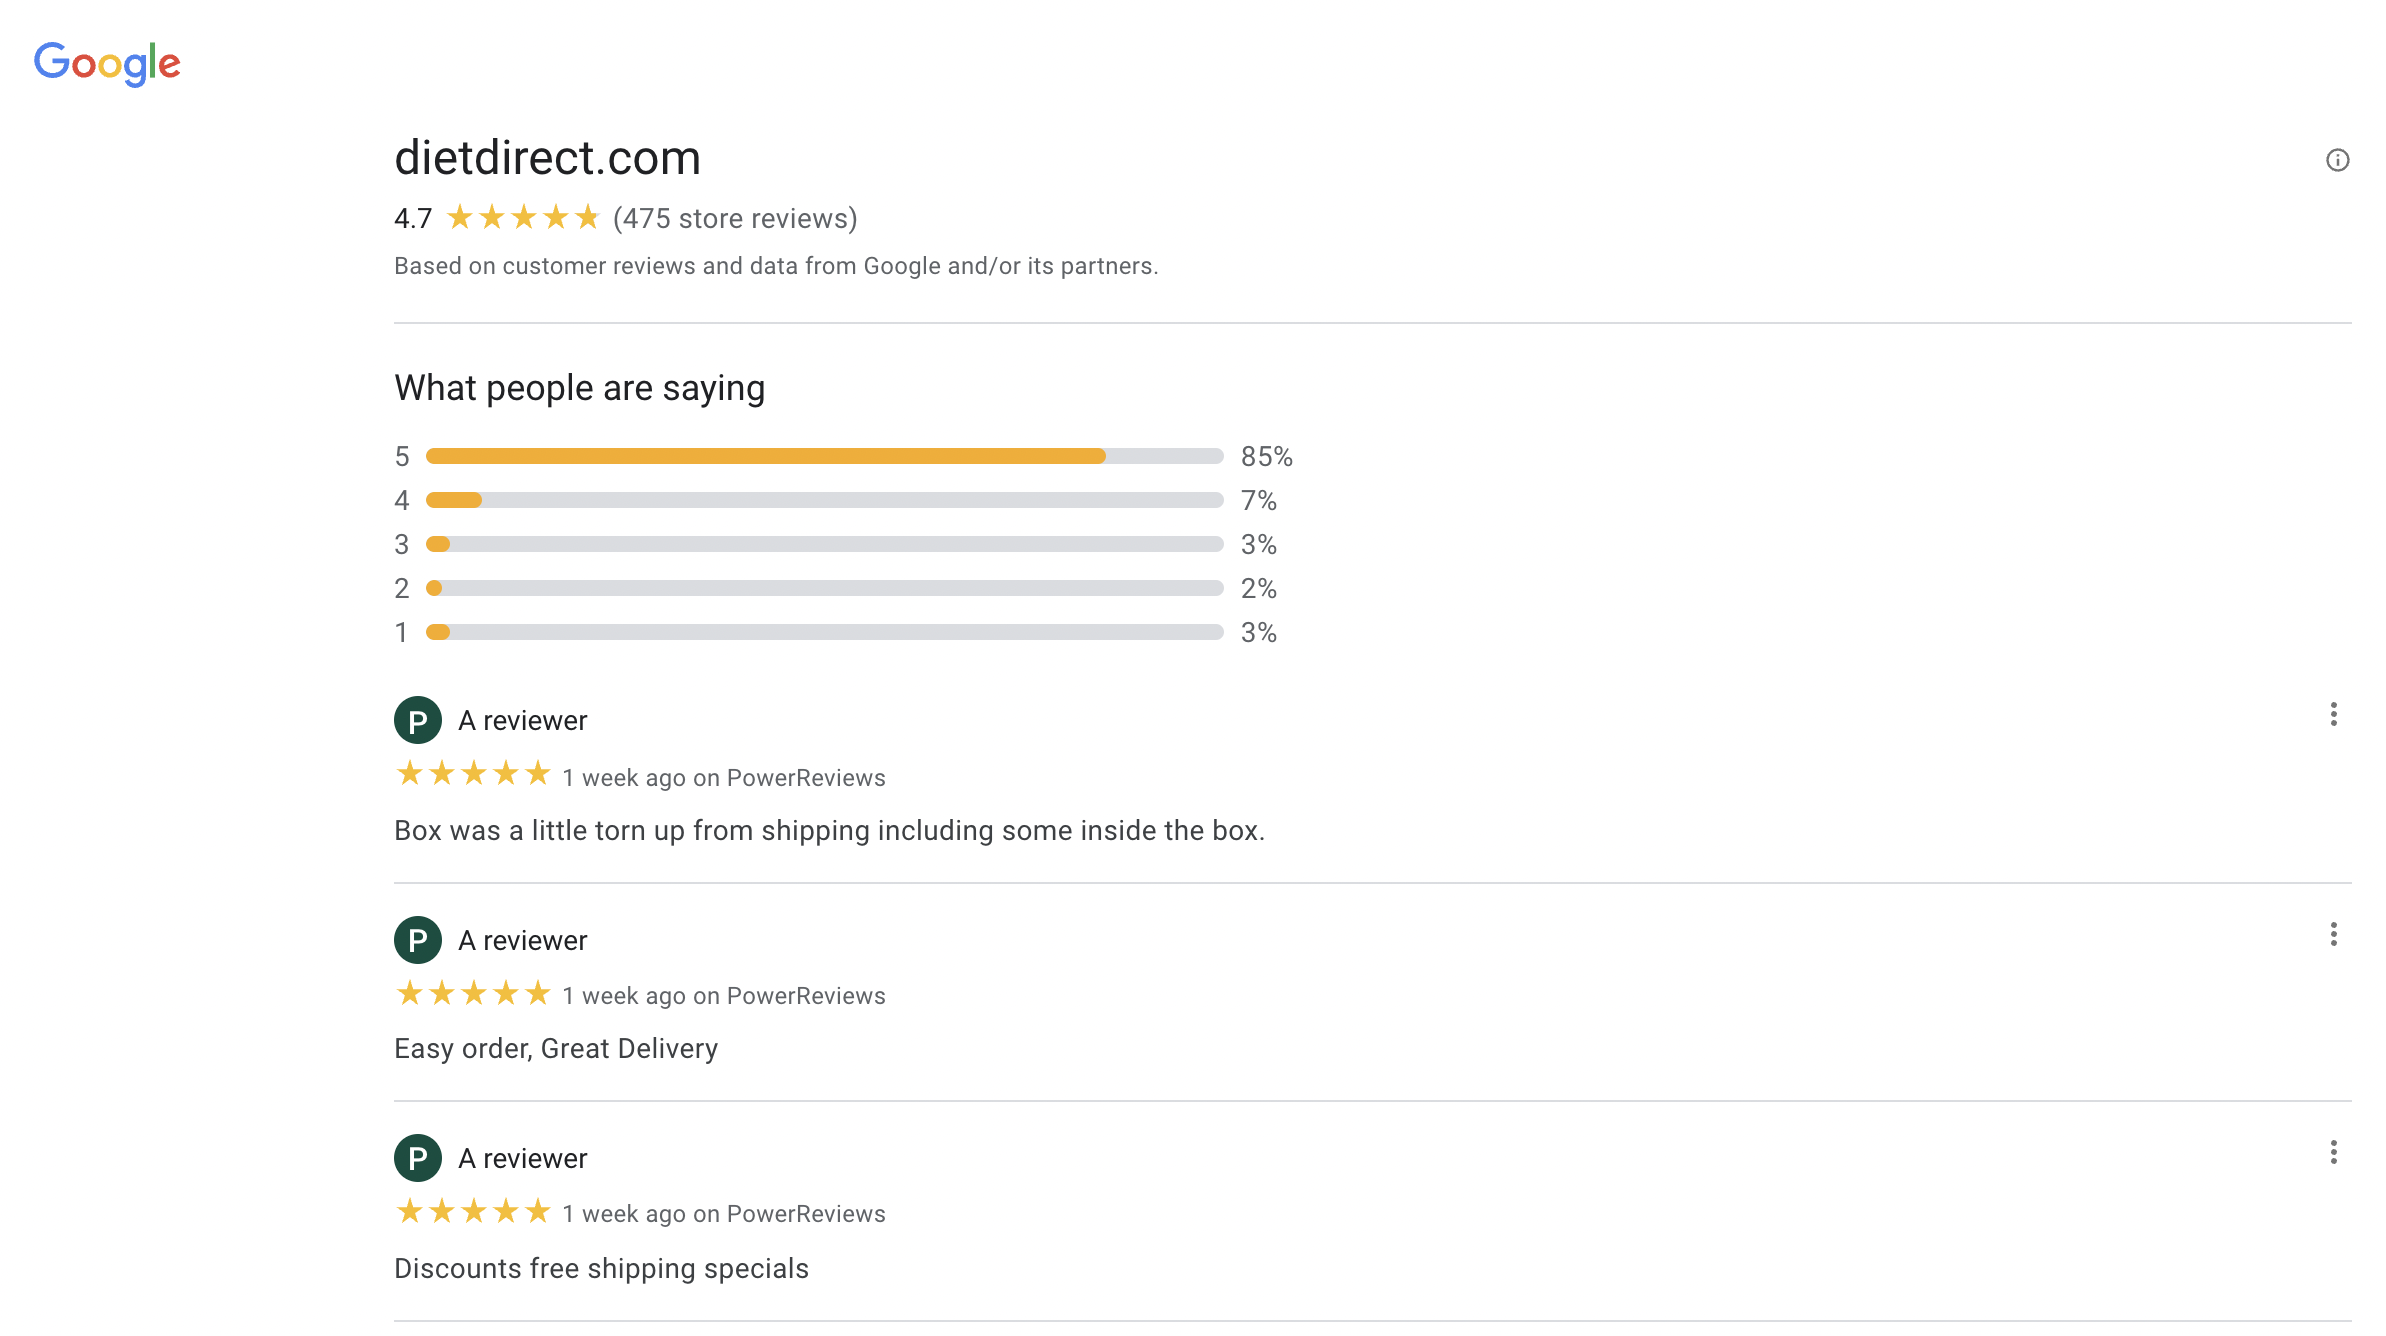
- Visit the Google Seller Ratings landing page in Google Shopping for your merchant by editing the following URL to replace '{yourwebsite}' with your homepage URL: https://www.google.com/shopping/ratings/account/lookup?q={yourwebsite}
For example, Diet Direct would be:
https://www.google.com/shopping/ratings/account/lookup?q=https://www.dietdirect.com/

Check for the most recent seller review sourced from PowerReviews (since you may have seller reviews collected via other trusted Google sources such as BizRate). If the most recent review is within the past week or two, your Seller Ratings are current.
Keep in mind that while this verifies the syndication of Seller Ratings to Google is working, we are unable to guarantee that Seller Ratings will be displayed in all Google searches as that occurs at Google's discretion per their algorithm.
Displaying Seller Ratings on Facebook
You can also display your Seller Ratings on your company's Facebook Business page. For more information on how to create custom tabs on your company's Facebook Business page, see this article from Hubspot.
After you follow these steps, copy the secure URL (starting with https) of your Seller Ratings page on your site, and add it to your iFrame into your newly created tab on Facebook.